Back to storefront
Iridescent Sakura 3D Nails | Romantic Lifestyle Essentials - Creative & 3D Nail Art
Creative & 3D Nail Art

Iridescent Sakura 3D Nails | Romantic Lifestyle Essentials

In the ever-evolving world of nail art trends, we occasionally stumble upon a design that feels less like a manicure and more like a miniature piece of wearable art. The image before us is the epitome of the "Ethereal Aesthetic" or "Fairy-core" movement that has taken social media by storm. Featuring a soft, pearlescent base, delicate 3D sculpted petals, and hyper-realistic "dew drops," this look is a masterclass in texture and color theory. This isn't just a simple paint job; it’s a multi-dimensional experience. Drawing inspiration from Japanese and Korean "nuance" nail styles, this design combines the soft blur of watercolor painting with the structural intrigue of 3D gel. Whether you’re looking to elevate your DIY nails or seeking inspiration for your next salon visit, this detailed guide will help you achieve salon-quality results that look like they belong in a botanical dreamscape.

Google Web Story

Watch full 9:16 vertical story look

Watch Story

Shop this look

5 items
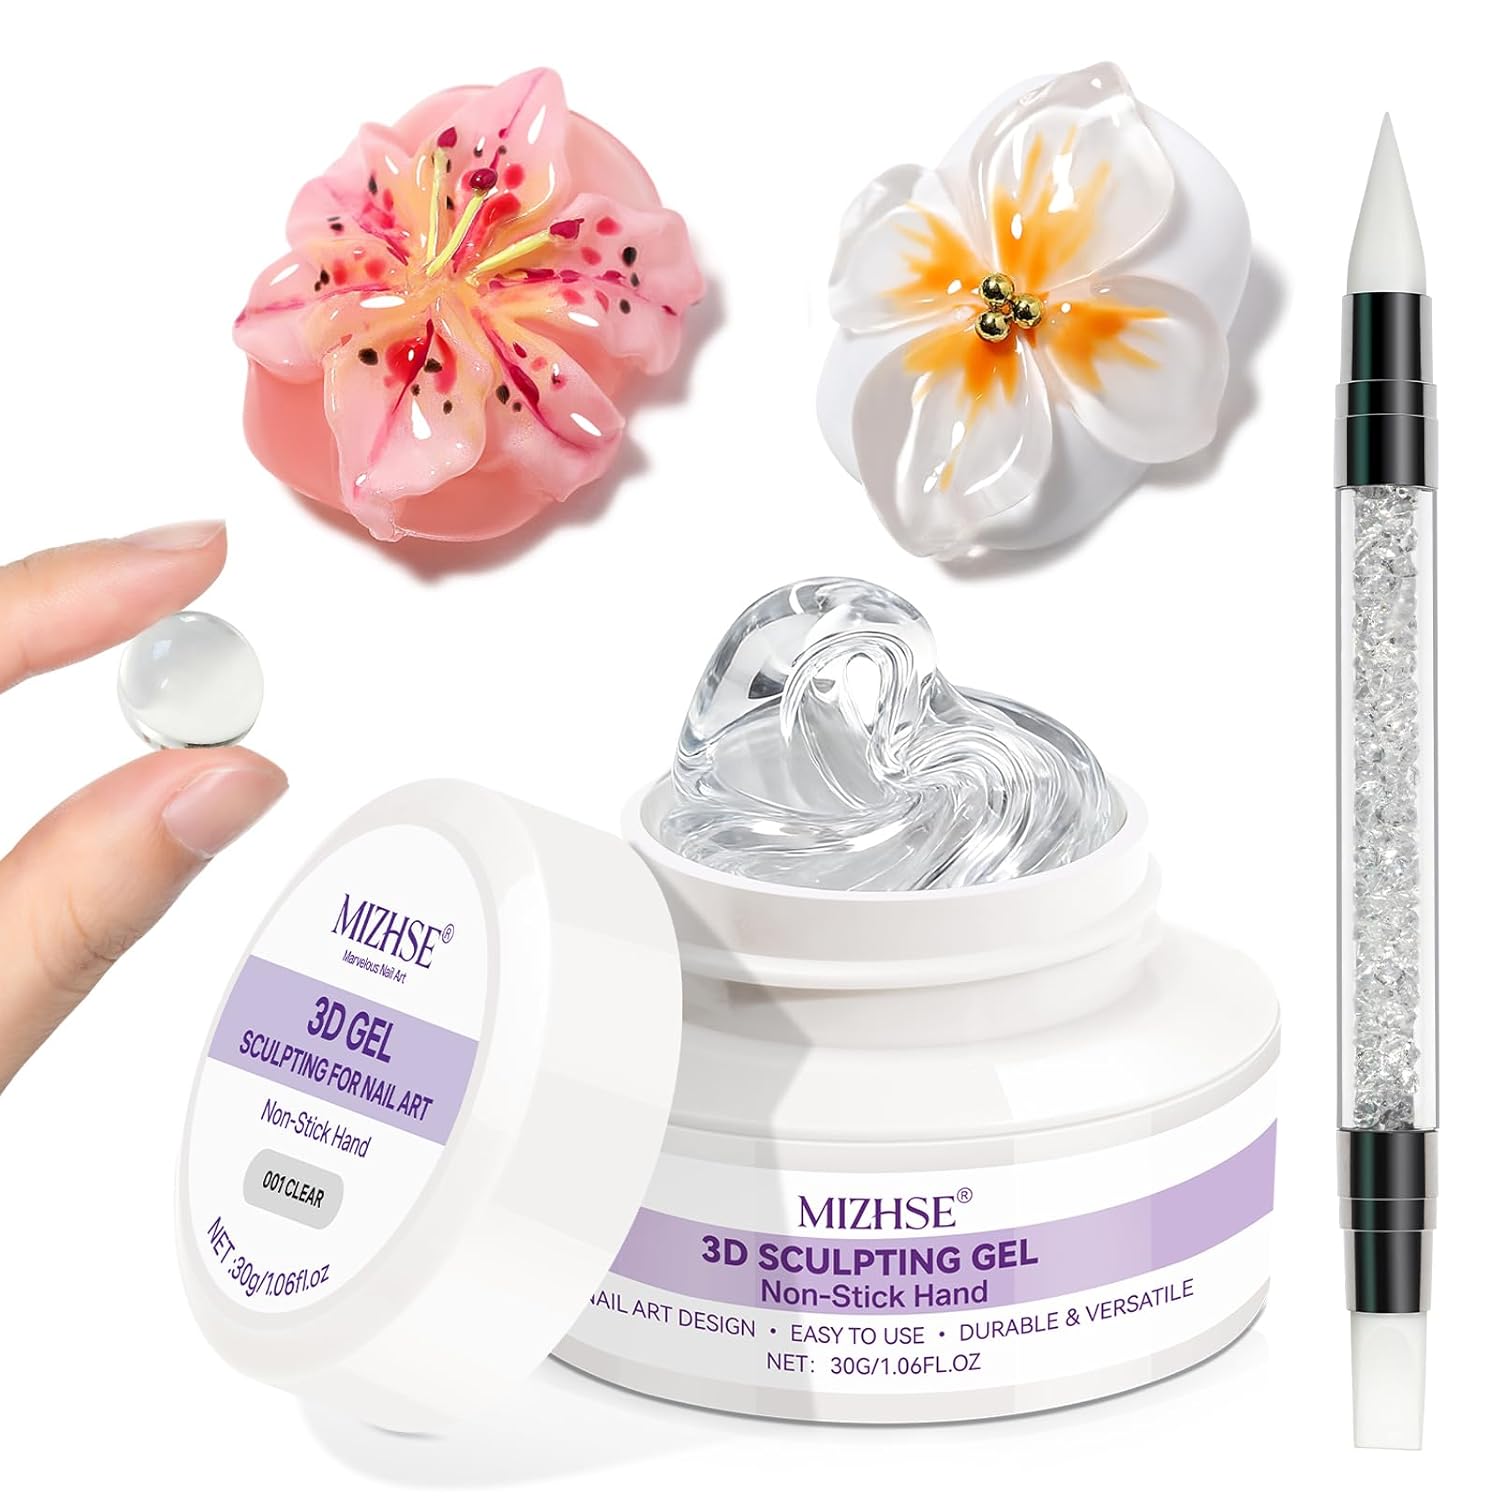
MIZHSE White 3D Gel Nail Art 30g Sculpting Gel Non-Sticky Molding Gel Solid - Iridescent Sakura 3D Nails | Romantic Lifestyle Essentials

MIZHSE White 3D Gel Nail Art 30g Sculpting Gel Non-Sticky Molding Gel Solid

Shop
White Pearl Chrome Nail Powder,Iridescent Mermaid Pigment - Iridescent Sakura 3D Nails | Romantic Lifestyle Essentials

White Pearl Chrome Nail Powder,Iridescent Mermaid Pigment

Shop
Silver Gold Nail Beads and Flatback Pearls for Nails Beige White Nail Pearl - Iridescent Sakura 3D Nails | Romantic Lifestyle Essentials

Silver Gold Nail Beads and Flatback Pearls for Nails Beige White Nail Pearl

Shop
GAOY 8 Pcs Nail Art Brushes, Nail Art Design Pens, Liner & Polka Dot Tools - Iridescent Sakura 3D Nails | Romantic Lifestyle Essentials

GAOY 8 Pcs Nail Art Brushes, Nail Art Design Pens, Liner & Polka Dot Tools

Shop
Beetles Pastel Gel Polish Set, Pastel Pink Yellow Color HEMA-FREE - Iridescent Sakura 3D Nails | Romantic Lifestyle Essentials

Beetles Pastel Gel Polish Set, Pastel Pink Yellow Color HEMA-FREE

Shop
As an affiliate partner, I earn from qualifying purchases when you shop through these links.

Step-by-Step Tutorial

Follow these easy steps to recreate this nail art look

Creating this manicure tutorial requires patience and a steady hand. Follow these steps to bring this 3D garden to your fingertips.

Step 1: Preparation and Base

Start by prepping your nails. Push back cuticles, buff the surface gently, and apply a high-quality base coat. Cure under an LED lamp. Apply two thin coats of a sheer, iridescent white or "milky" gel polish. This provides that glowing, "lit-from-within" look visible in the image.

Step 2: The Watercolor Marble Background

Before adding 3D elements, we need that soft, blurred background. Take a palette and drop small amounts of pastel pink, blue, and yellow. Using a brush dipped in a little bit of base coat or alcohol, "dab" these colors onto the nail, letting them bleed into one another. Do not aim for perfection; the goal is a soft, cloud-like transition. Cure once satisfied.

Step 3: Chrome or Pearl Dust (Optional)

To achieve the high-shine finish seen in the photo, rub a small amount of "pearl chrome powder" over the cured marble base. This unifies the colors and adds a professional, expensive-looking sheen.

Step 4: Sculpting the 3D Petals

This is where the magic happens. Using a 3D carving gel or a very thick builder gel, pick up a small bead on a silicone tool or a dampened brush. Place it on the nail and gently drag it toward the center to create a petal shape. Repeat this 3 to 5 times to form a flower. In the image, you’ll notice the petals are varied in color—some pink, some lavender. Mix your carving gel with a drop of colored polish to achieve this. Cure for a full 60 seconds.

Step 5: Adding the "Dew Drops" and Gold Centers

Using a dotting tool and a thick, non-wipe top coat (or clear builder gel), place small "beads" of clear gel randomly around the nails. These mimic raindrops. On the center of the flowers, place a tiny dot of gel and use tweezers to drop 1-3 gold caviar beads into the center. Cure immediately to lock them in place.

Step 6: Final Seal

Carefully apply a top coat around the 3D petals, not over them, to maintain their texture. If you cover the 3D parts entirely, you lose the crispness of the design. Seal the edges well and give it one final long cure.

Perfect Locations & Occasions

Where to show and flaunt this nail art design

This manicure is a conversation starter, making it perfect for events where you want your style to speak for itself.
1. Bridal Events and Spring Weddings:

The soft pastel palette and romantic floral motifs make this the ultimate bridal manicure. It’s sophisticated enough for a white dress but adds a touch of personality through its 3D texture. If you are a bridesmaid or a guest at a garden wedding, these nails will perfectly complement floral prints and silk fabrics.
2. High-Tea and Artistic Brunches:

There is something inherently "tea-party chic" about this design. The delicate details pair beautifully with holding a porcelain teacup or a flute of mimosa. It’s a design that thrives in soft, natural lighting, where the iridescent base can catch the sun.
3. Gallery Openings and Fashion Events:

Because this look leans into the "avant-garde" side of nail art, it’s a great choice for creative environments. It shows that you follow nail art trends but aren't afraid to experiment with volume and texture. It pairs exceptionally well with monochromatic outfits, allowing the nails to serve as the primary accessory.

How to Look After Your 3D Manicure


A 3D manicure requires a bit more "TLC" than a standard flat gel polish. Because the petals and dew drops are raised, they are more susceptible to catching on fabrics or lifting if not treated properly.
* Be Mindful of Your Wardrobe: Avoid wearing loose-knit sweaters or delicate lace that might snag on the edges of the 3D petals. When dressing, be conscious of your hand movements.

* Hydrate Your Cuticles: 3D art looks best when the surrounding skin is flawless. Use a high-quality cuticle oil twice a day to keep the skin hydrated and prevent hangnails that could distract from the art.

* Use Gloves for Chores: Chemicals in cleaning products can dull the iridescent finish and weaken the bond of the 3D gel. Always wear rubber gloves when washing dishes or cleaning.

* Avoid "Picking": It can be tempting to feel the texture of the 3D elements, but avoid picking at the edges of the petals, as this can lead to premature lifting.

Frequently Asked Questions (FAQ)

Tap or click any question to expand details

Conclusion & Styling Summary

Final takeaway tips and styling thoughts

The Dreamy Iridescent 3D Floral look is the perfect fusion of nature-inspired beauty and modern technology. It captures a sense of whimsy and elegance that flat polish simply cannot replicate. By mastering the art of layering colors and textures, you transform your hands into a focal point of your overall style.
Styling Tip: Pair this manicure with soft textures like organza, silk, or satin. Since the nails feature a variety of pastels, you can wear almost any soft hue—from mint green to baby blue—and the nails will harmonize perfectly. Keep your jewelry minimal; a simple gold band or a pearl ring will enhance the design without competing with it.

Value Proposition Summary


In today's beauty landscape, staying ahead of nail art trends means embracing texture and dimension. This DIY nails tutorial provides you with the professional secrets to achieving a salon-quality finish from the comfort of your home. By investing in the right tools and following a structured manicure tutorial, you can achieve an ethereal look that is both durable and breathtakingly beautiful. Embrace the 3D revolution and let your creativity bloom!

More looks you'll love