




Recreating this manicure tutorial requires patience and a steady hand. Follow these steps to achieve a professional finish.
Step 1: Prep and Shape
Start by shaping your nails into a medium-to-long almond. This shape elongates the fingers and provides ample "real estate" for the 3D elements. Buff the nail plate lightly and apply a dehydrator and primer to ensure maximum adhesion.
Step 2: The Perfect Nude Base
Apply two thin coats of a sheer milky pink gel polish. You want the natural nail line to be slightly visible to keep the look airy and light. Cure each coat for 60 seconds under a UV/LED lamp.
Step 3: Sculpting the Textured Tips
On the index and ring fingers, use a thick-viscosity 3D gel. Using a liner brush, draw vertical, slightly curved lines at the tip to mimic the ridges of a seashell.
- Pro Tip: Don't cure immediately! Let the gel settle for 5 seconds so the ridges look organic. Cure once satisfied.
- The Color: Rub a small amount of blue or lime green chrome powder over these ridges to create the gradient effect seen in the image.
Step 4: Creating the 3D Stars
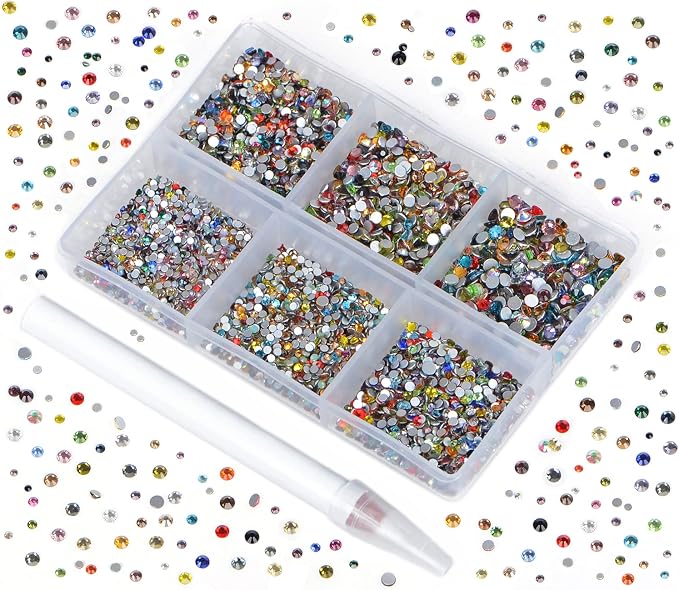
The stars on the thumb, middle, and pinky fingers are the focal points. Using your 3D sculpting gel, draw a five-point star or a "cross" shape. Before curing, use a dotting tool to pick up rhinestones and press them into the wet 3D gel. On the middle finger, use pink stones; on the pinky, use orange/gold. Surround the center stone with gold caviar beads for a "royal" celestial effect. Cure for 90 seconds to ensure the thick gel is hardened all the way through.
Step 5: Top Coat Strategy
Apply a high-shine, no-wipe top coat over the base of the nail. Use a tiny brush to seal around the 3D elements and rhinestones. Never put top coat over the rhinestones themselves, as it dulls their facets and kills the sparkle.







